Homemade Chewy Gyoza Skins
Hey everyone, it's Brad, welcome to my recipe page. Today, I'm gonna show you how to make a special dish, Homemade Chewy Gyoza Skins. It is one of my favorites food recipes. For mine, I am going to make it a little bit unique. This is gonna smell and look delicious.
Homemade Chewy Gyoza Skins is one of the most well liked of recent trending meals on earth. It is simple, it is fast, it tastes yummy. It is enjoyed by millions every day. Homemade Chewy Gyoza Skins is something that I've loved my entire life. They are nice and they look wonderful.
Many things affect the quality of taste from Homemade Chewy Gyoza Skins, starting from the type of ingredients, then the selection of fresh ingredients, the ability to cut dishes to how to make and serve them. Don't worry if you want to prepare Homemade Chewy Gyoza Skins delicious at home, because if you already know the trick then this dish can be used as an extraordinary special treat.
As for the number of servings that can be served to make Homemade Chewy Gyoza Skins is 40 servings. So make sure this portion is enough to serve for yourself and your beloved family.
To get started with this recipe, we have to first prepare a few ingredients. You can have Homemade Chewy Gyoza Skins using 5 ingredients and 5 steps. Here is how you cook it.
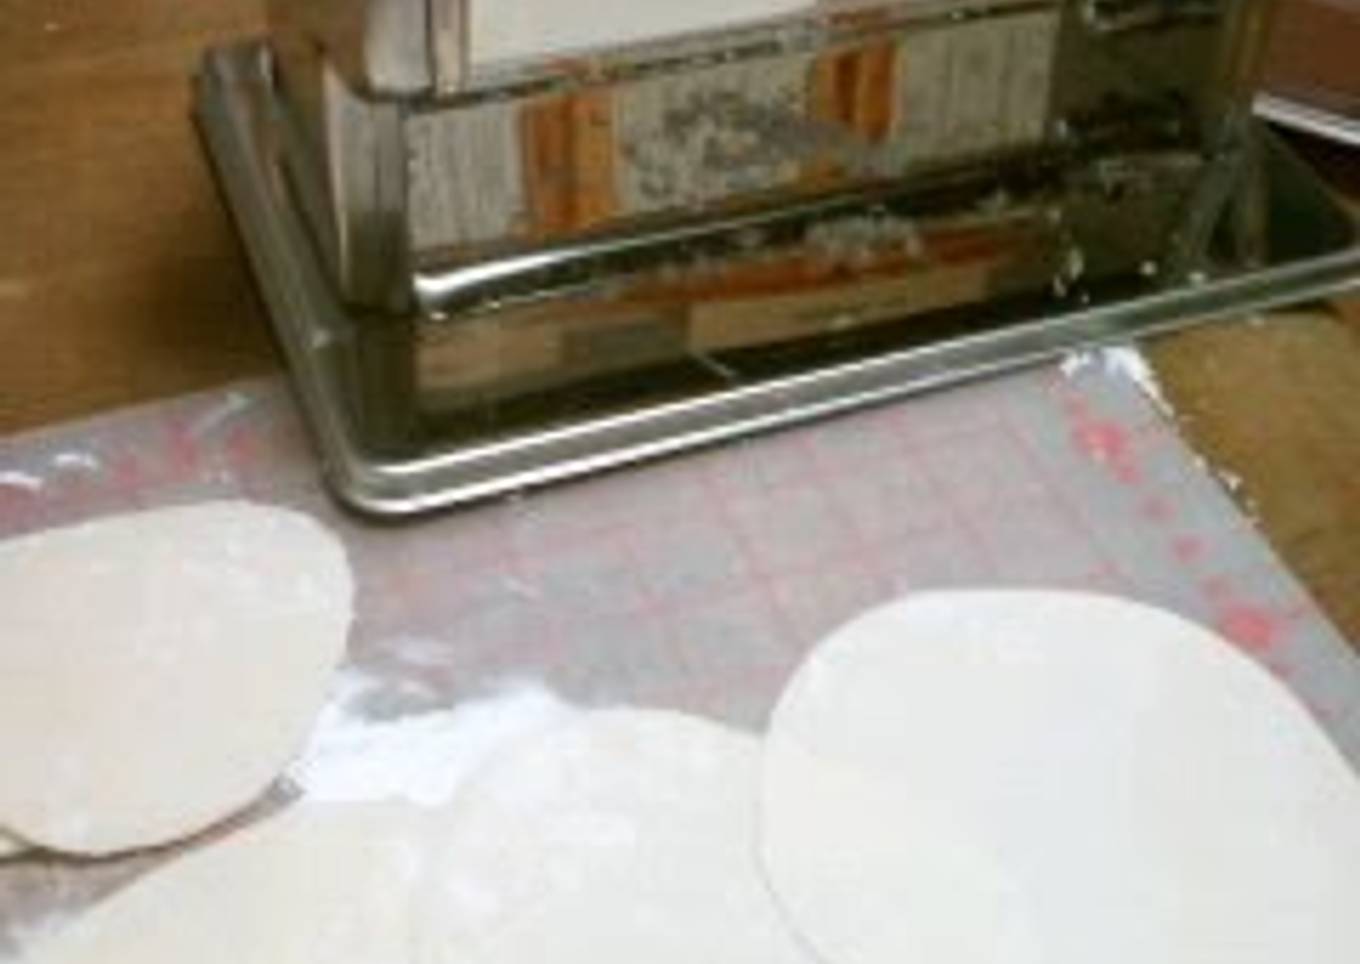
I have tried making a lot of things in the pasta machine, this time I made gyoza skins. It's easier and more fun than using a rolling pin.
The Steps are easy First put each skin through the pasta machine at the thickest setting, then put them all through again at the next thinner setting. Change the setting to the next thinnest level each time I usually use Settings 7 -> 5 -> 2 and then they're done. To prevent the dough from drying out, place it in a plastic container with a lid or with plastic wrap while you work. Recipe by Mikesachi
Ingredients and spices that need to be Get to make Homemade Chewy Gyoza Skins:
- 150 grams Bread (strong) flour
- 50 grams Cake flour
- 1 dash Salt
- 100 ml Hot water
- 1 Dusting powder (katakuriko)
Steps to make to make Homemade Chewy Gyoza Skins
- Place the flour into a bowl, add the salt, and mix. Slowly pour hot water into the center of the mixture while stirring around with chopsticks.
- Bring it all together and then cover with plastic wrap. Let it sit for 30 minutes. Then knead in a bowl or on the counter until the surface becomes smooth.
- Place into a plastic bag and let it sit in the refrigerator for 1-2 hours. Then, spread out the dough into a 2 cm thick rectangle. Cut into 2 cm pieces.
- Flatten each piece into flat circles. First start by using the pasta machine on the thickest setting and gradually switch the setting thinner and thinner as the dough stretches.
- As you send the dough through the machine, do it in a way that makes the skins circular. Dust the finished skins with dusting powder and layer one by one.
As your experience and also confidence expands, you will find that you have extra natural control over your diet and also adapt your diet plan to your personal preferences with time. Whether you want to offer a dish that makes use of less or more components or is a little basically hot, you can make simple adjustments to attain this objective. To put it simply, begin making your recipes on schedule. As for basic food preparation skills for newbies you do not need to learn them however only if you grasp some easy food preparation strategies.
This isn't a full overview to fast and very easy lunch dishes yet its great something to chew on. With any luck this will get your creative juices streaming so you can prepare delicious dishes for your family without doing a lot of heavy meals on your journey.
So that is going to wrap this up with this special food Step-by-Step Guide to Make Favorite Homemade Chewy Gyoza Skins. Thank you very much for reading. I am confident that you will make this at home. There is gonna be more interesting food in home recipes coming up. Don't forget to bookmark this page in your browser, and share it to your loved ones, friends and colleague. Thanks again for reading. Go on get cooking!


Comments
Post a Comment